Understand how to generate document/PDF every time a request is submitted.
Table of Content:
- Step 1: Go to “Generate document/PDF only” mode
- Step 2: Create a Google Docs template
- Step 3: Select Google Docs template on the add-on
- How to Generate a Grid Question
Step 1: Go to “Generate document/PDF only” mode
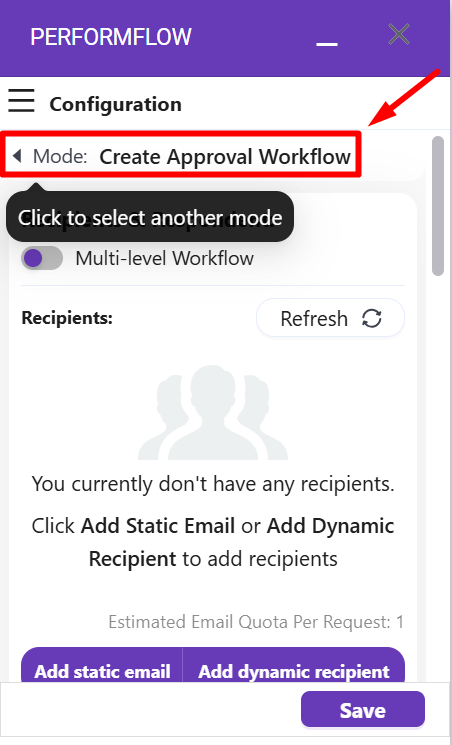
In Configuration menu, by default, you will see ‘Create approval workflow’ mode.
To switch to another mode, click ‘Mode: Create Approval Workflow’. The image below is an example.
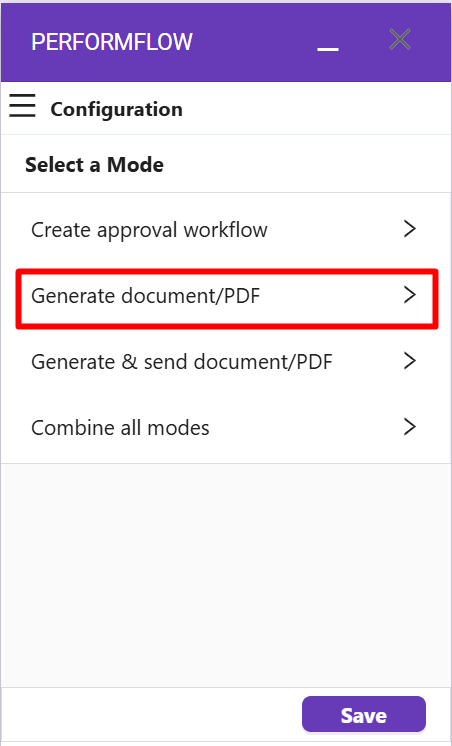
Next, you will see ‘Select a Mode’ section where you can select the mode you want to use. In this case, let’s select ‘Generate document/PDF‘.
After that, the Configuration menu will shift to ‘Generate document/PDF‘ where you can start setting up this flow.
Step 2: Create a Google Docs template
Supposed that you have already set up questions on your Google Forms (you should do it now if you haven’t), it’s time to create a Google Docs template.
Go to Google Docs and start a new document:
Every Google Docs template has two types of fields: Standard Fields and Matching Question Fields.
Standard Fields include the following default fields: <<Form Name>>, <<Request Number>>, <<Timestamp>>, and <<Last Approver>>
- <<Form Name>> is the name of your Google Forms (e.g. Leave Request).
- <<Request Number>> is the number of a request.
- <<Timestamp>> is the date & time when a request is sent.
- <<Last Approver>> displays the name of the most recent person who approved the request in the workflow.
For example, we have a Google Form named ‘Leave Request’ with questions like below:

As you can see, there are 4 questions in this form: Employee’s Name, Reason to Leave, Start Date, and End Date.
This means you have 4 respective Matching Question Fields: <<Employee’s Name>>, <<Reason to Leave>>, <<Start Date>>, and <<End Date>>.
Now, let’s add these fields to our Google Docs template:

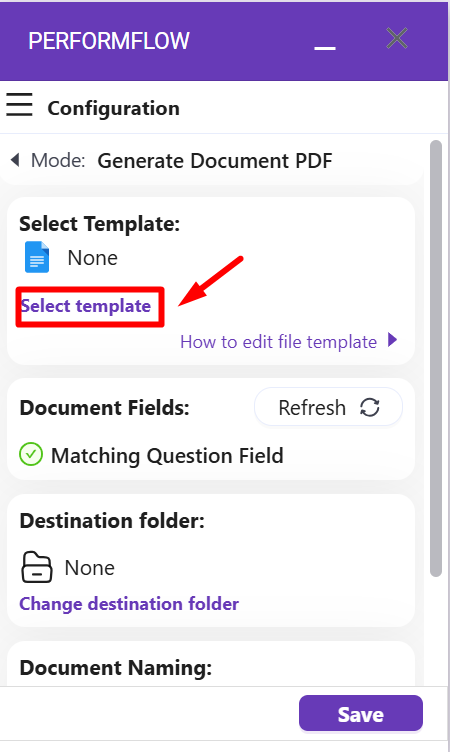
Step 3: Select Google Docs template on the add-on
After adding fields to your Google Docs template, return to your Google Form. Then, click on “Select template” to open a Google popup where you can select your Google Docs template.
In this case, we select a template called ‘PerformFlow Template’.
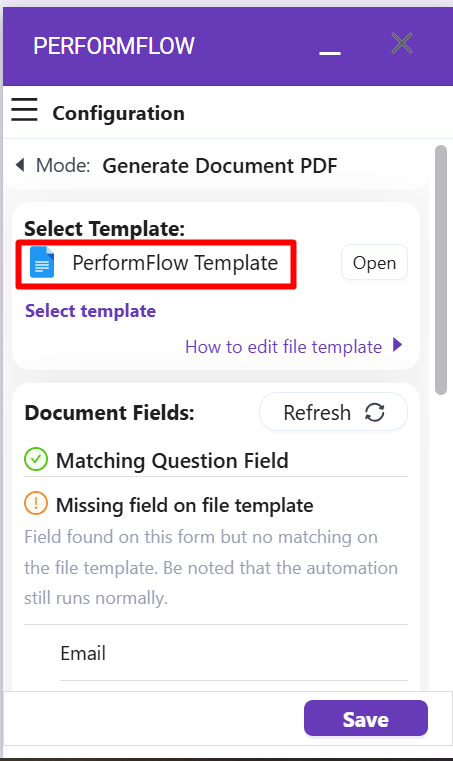
Now, you should check the “Document Fields” section to make sure all Matching Question Fields on your Google Docs template matches your questions on Google Forms.
If both Standard Field section and Matching Question Field are checked with a green check-mark, it means your template is now ready to be generated.
Finally, you can scroll down to the bottom to Document Naming section where you can set the file naming rule. You can use Standard Field including <<Form Name>>, <<Request Number>>, and <<Timestamp>> to name your file (e.g. <<Form Name>> #<<Request Number>>). Check out this video for more details on naming document:
When you finished configuration, click Save then try submiting a test request. Open your Google Drive and wait for a few seconds, you will see new Google Docs document and PDF file generated:

How to Generate a Grid Question
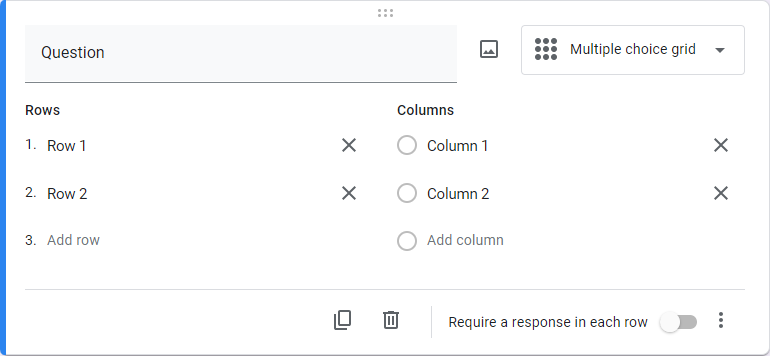
Let’s say you have a grid question that looks like the above. Then, it must be generated row by row as follows:
<<Question [Row 1]>>
<<Question [Row 2]>>