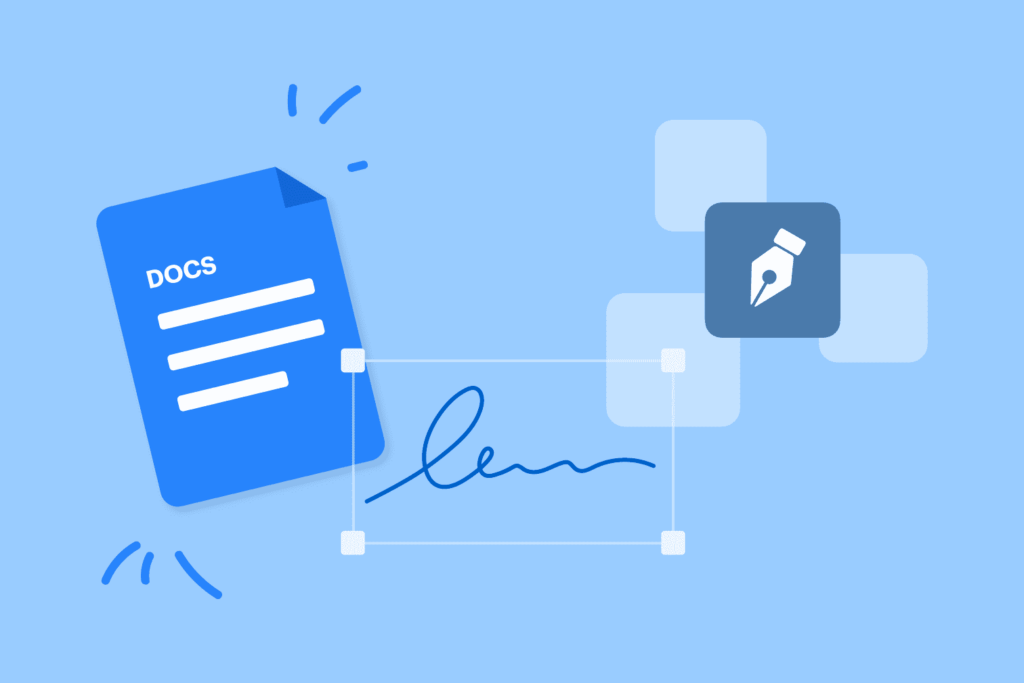
Inserting a signature in Google Docs can save you time while adding a professional touch to your documents. Whether you prefer a digital or handwritten signature, Google Docs provides simple tools to make the process seamless. Follow this step-by-step guide to learn how to add and customize your signature effortlessly.
Table of Contents
- Why to Add Signature in Google Docs
- How to Insert a Signature in Google Docs
- Method 1: Use Google Docs’ Esignature Tool
- Method 2: Add a Google Drawing Inside of Google Docs
- Method 3: Upload an Image of Your Signature
- FAQ about Inserting a Signature in Google Docs
- Bonus Method: Simplify Signature Collection in Google Docs
Why to Add Signature in Google Docs
Inserting a signature in Google Docs improves your document’s professionalism and makes the signing process more efficient. No matter if you’re adding a digital or handwritten signature, it’s a practical and effective solution. Here’s why it’s a smart choice:

- Efficiency: Save time by signing documents directly in Google Docs, eliminating the need for printing or scanning.
- Professionalism: Enhance the credibility of your documents with a professional signature, especially for contracts and agreements.
- Remote Accessibility: Sign and manage documents from anywhere, making it ideal for teams and clients in different locations.
- Security: Protect your documents with tamper-proof signatures, ensuring a secure and trustworthy signing process.
- Streamlined Workflow: Simplify document management by collecting multiple signatures quickly, all within Google Docs.
How to Insert a Signature in Google Docs
Method 1: Use Google Docs’ Esignature Tool
The eSignature feature is a new addition to Google Docs that allows users to electronically sign documents and manage multiple signers.
Steps to Use E-Signature:
Step 1: At the top toolbar, click Insert > eSignature.

Step 2: The eSignature side panel will appear on the right side of your screen.
In Insert Fields For Section:

- If you have multiple signers, select the specific signer from the dropdown.
- To update the list of available signers, click Manage signers to open the Manage signers dialog.

In Fieldable Fields Section: Choose one or more fields and drag them into your document to customize it.
- Signature
- Initials
- Name
- Text Field

In Auto-Filled Fields Section: Add the Date Signed field, which will automatically capture and display the signing date.

Step 3: You can edit and customize fields to match your preferences.
- To check or update the signer assigned to a field, click the field and use the Assigned to dropdown.

- To update the list of signers, click Manage signers in the dropdown. This will open the Manage signers dialog as described in Step 2.

- For Text Fields, you can:

- Add a description in the placeholder text box to guide the signer (e.g., “Job title” or “Email address”).
- Set the font size for the text entered by the signer.
Note: The eSignature feature is available to eligible users.
Method 2: Add a Google Drawing Inside of Google Docs
Google Docs includes a built-in drawing tool to add handwritten signatures.
Steps to Draw a Signature:
Step 1: Go to Insert > Drawing > New from the top toolbar.

Step 2: The in-app Drawing tool will appear in front of your document. Click the down caret (⋁) next to the Line icon, and select Scribble. Use a mouse, trackpad, or touchscreen device to hand-write your signature.

Step 3: Click Save and Close in the top-right corner of the Drawing tool to insert your signature into the document.

- Click or tap on the signature image to view its bounding box.

- Use the handles to reshape or resize the signature to fit your needs.
- Adjust text alignment or wrapping options to change how the signature interacts with the surrounding text.
Method 3: Upload an Image of Your Signature
If you have a digital or scanned version of your signature, you can upload it directly into Google Docs.
Steps to Upload a Signature:
Step 1: From the top toolbar, go to Insert > Image and choose one of the following options:

- Upload from Computer: If the signature image is saved on your device.
- Search the Web: To find your signature image online.
- Drive: If the image is stored on your Google Drive.
- Photos: To access images from your Google Photos.
- Camera: To take a photo of your signature on the spot using your device’s camera.
- By URL: If you have a direct link to the image.
Step 2: After adding the image, click on it to select it. You can:
- Resize the signature by dragging the corners of the bounding box.
- Move the signature to your desired location by dragging and dropping it.
FAQ about Inserting a Signature in Google Docs
1. Can I use a handwritten signature in Google Docs?
Yes, you can create a handwritten signature by using the drawing tool or uploading a scanned image of your signature.
2. Can I sign documents in Google Docs from my phone?
Yes, you can create a signature by typing your name or uploading an image of your handwritten signature.
3. Can I create a signature without a touchpad or stylus in Google Docs?
Yes, you can create a signature by typing your name or uploading an image of your handwritten signature.
4. Can I use Google Docs for legal documents?
Yes, Google Docs can be used for legal documents, especially when you incorporate digital signatures. However, make sure your digital signatures meet the legal requirements of your jurisdiction.
5. Can I collect signatures from multiple people on a single document?
Yes, by using PerformFlow, you can efficiently collect signatures from multiple people on a single Google Docs document, streamlining the entire process.
Bonus Method: Simplify Signature Collection in Google Docs
Managing multiple approvals and signatures can be tedious, but with the PerformFlow add-on, you can simplify the entire process. Instead of manually inserting signatures for each individual, PerformFlow helps you insert a signature in Google Docs quickly and efficiently. This method streamlines your workflow, saving time and effort. For detailed instructions on setting up PerformFlow to streamline signature requests, check out our step-by-step guide here.
Ready to enhance your document management?