- User Guide
Tips to Set Up Your First Workflow
Mode 1: Create Approval Workflow Only
1.1 Add Static & Dynamic Recipients
1.3 Set Conditions for Recipient
Mode 2 & 3: Generate & Send PDF/document only
2.1 How to generate PDF/document
2.2 Common file template errors
2.3 Send PDF/documents to recipients
2.4 Send PDF/documents to respondents
3.1 Combine Modes – Setup File Template
3.2 Combine Modes – Add recipients
Email Settings & Features:
4.1. Options for Sending Final Email
4.3. Show or Hide the Sheets Report in the Final Email
4.4. Show File Attachment Links on Emails
4.5. Resend Email to Recipient & Edit Recipient Email
4.8. Set Conditions for Custom Email Template
4.9. Add CC and BCC Email Addresses
Team Plan:
Additional Features:
6.1 Set Reminder & Auto Approve/Reject
6.2 Resend All Pending Requests
6.5 Approval Link Authentication
6.7 Transfer Paid Plan To Other User
6.8 Avoid Automatic Approval/Rejection
6.11. Cancel a Request via Email
6.13. Change Decision for Recipients
6.15. Approve via Dashboard for Recipients
6.16. Form Owner Approves on Behalf of Recipients
6.17. Bulk Actions: Approve, Reject, and Cancel
Learn what PerformFlow does, how to install it, and how to try a demo right from your Google Form.
In this article
- What is PerformFlow?
- Install PerformFlow
- Option 1: Install from Google Forms
- Option 2: Install from the Google Workspace Marketplace
- Try the Demo
- Next Steps
What is PerformFlow?
PerformFlow is a Google Forms add-on created by JetDyno. It helps you automate document creation and approval workflows directly from your forms.
With PerformFlow, you can:
Generate PDFs or Google Docs automatically every time someone submits your form.
Send the generated files to specific people through email.
Set up approval workflows where recipients can approve or reject submissions right from their inbox.
Combine both features to generate and send documents and request approvals — all in one step.
PerformFlow makes managing requests, approvals, and document generation simple and automatic.
Install PerformFlow
You can install PerformFlow from either Google Forms or the Google Workspace Marketplace.
Option 1: Install from Google Forms
1. Open your Google Form.
2. At the top, click More ⋮ → Get add-ons.
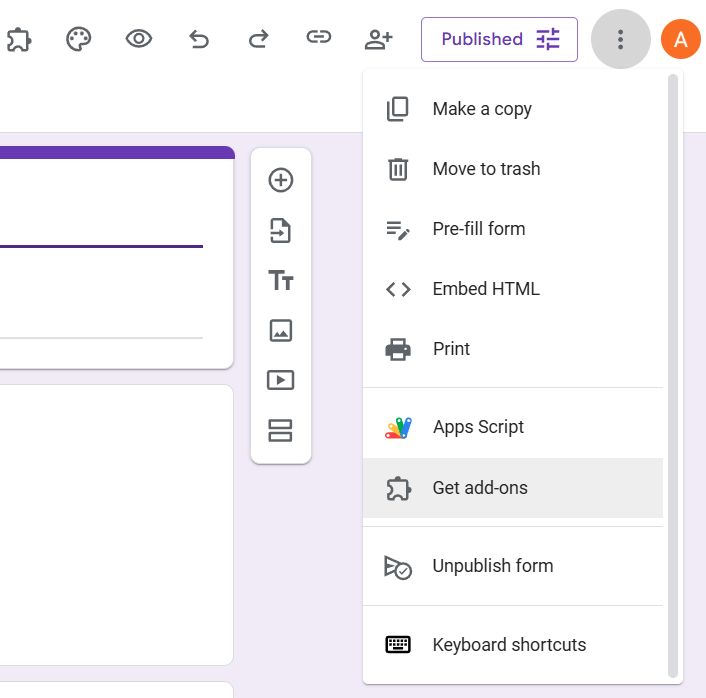
3. In the search bar, type PerformFlow, then press Enter.

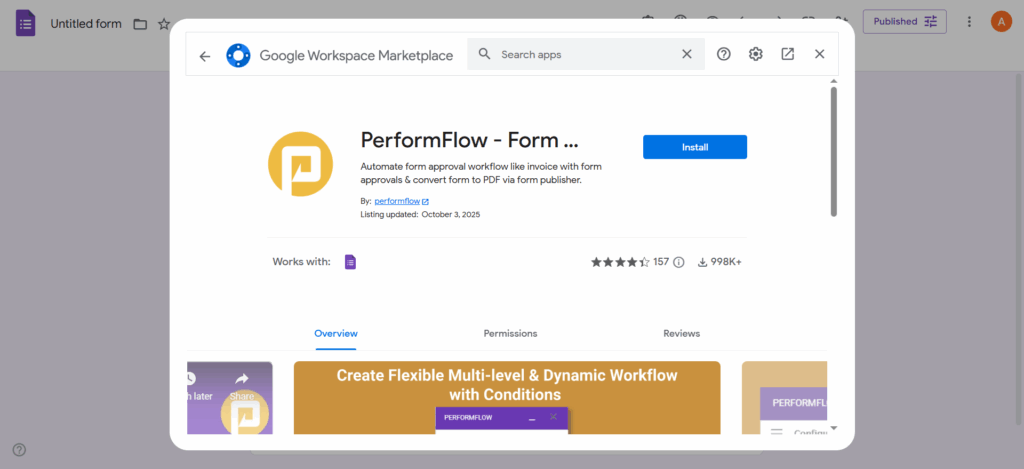
4. Click PerformFlow, then select Install.
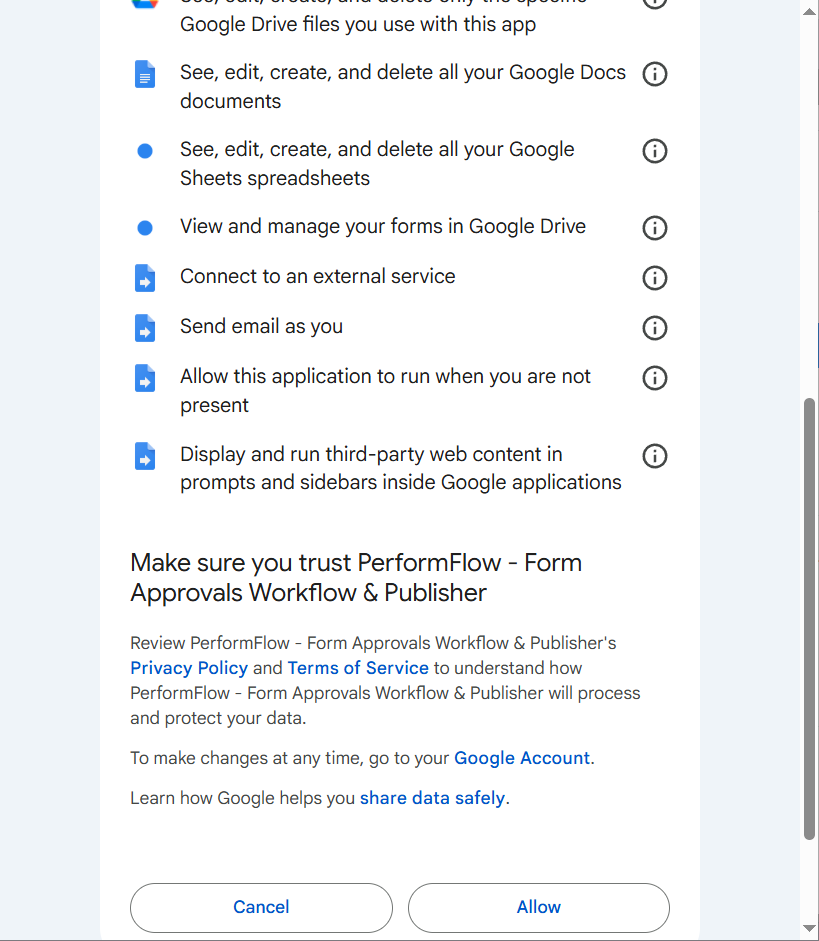
5. Allow PerformFlow – Form Approvals Workflow & Publisher to access your Google Account.
Once installed, you’ll see PerformFlow listed under the Add-ons menu in your form.

Option 2: Install from the Google Workspace Marketplace
1. Go to the Google Workspace Marketplace.
2. Search for PerformFlow.
3. Click Install, then accept the authorizations.
4. After installation, click Launch to open a new Google Form.
PerformFlow will appear under the Add-ons icon in all your forms.
Try the Demo
Want to see how PerformFlow works? You can try a built-in demo.
1. Create a new Google Form.
2. Click the Add-ons (puzzle icon) → PerformFlow – Form Approvals Workflow & Publisher.
3. Click Get Started in the pop-up. If you do not see the Get Started option, close and reopen the add-on 2-3 times.

4. In the add-on, click Try Demo – Approval Workflow.
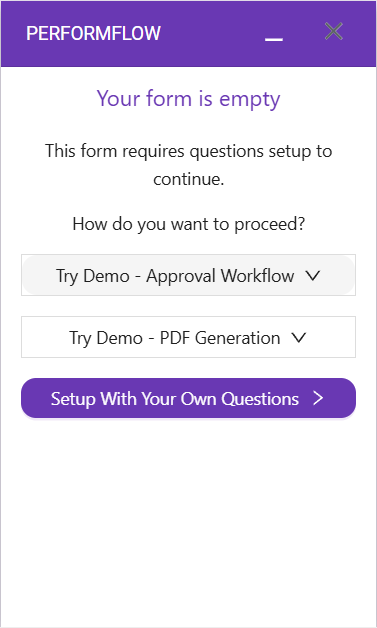
5. Choose a sample workflow:
- Leave/Vacation Request (Lite)
- Expense Approval (Lite)
- Purchase Request (Lite)
- Field Trip Request (Lite)
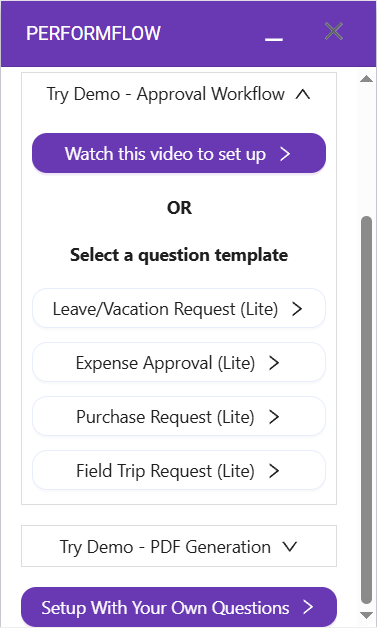
6. Click Send a submission, fill out the form, and click Submit.
You’ll get an approval notification in your Gmail. From there, you can approve or reject your test submission — just like a real workflow.
Next Steps
Learn how to set up your first approval workflow
Visit the FAQ for troubleshooting and tips