- User Guide
Tips to Set Up Your First Workflow
Mode 1: Create Approval Workflow Only
1.1. Add Static & Dynamic Recipients
1.3. Set Conditions for the Recipient
1.7. Add & Use Recipient Group
Mode 2 & 3: Generate & Send PDF/document only
2.1. How to generate a PDF/document
2.2. Common file template errors
2.3. Send PDF/documents to recipients
2.4. Send PDF/documents to respondents
3.1. Combine Modes – Setup File Template
3.2. Combine Modes – Add recipients
Email Settings & Features:
4.1. Change Final Email Settings to Save Quota
4.3. Show or Hide the Sheets Report in the Final Email
4.4. Show File Attachment With Recipients
4.6. Customize Email Templates
4.8. Set Conditions for Custom Email Template
4.9. Add CC and BCC Email Addresses
Team Plan:
5.2. Share Edit Permission With Team Member
Additional Features:
6.1. Set Reminders for Approval Emails
6.2. Resend All Pending Requests
6.3. Dashboard or Form Management Page
6.5. Approval Link Authentication
6.6. Transfer All Forms to Another User
6.7. Transfer Paid Plan to Another User
6.8. Avoid Automatic Approval/Rejection
6.9. Signature on Generated PDF/Google Docs in Combined Mode
6.10. Approval Status Tracking Link for Respondent
6.11. Cancel a Request via Email
6.13. Change Approval Decision for Recipients
6.15. Approve via Dashboard for Recipients
6.16. Form Owner Approves on Behalf of Recipients
6.17. Bulk Actions: Approve, Reject, and Cancel
6.18. Set Conditions for Destination Folders
Understand how the tracking report system works.
1. Google Forms’ Default Spreadsheet Report
By default, Google Forms automatically generates a spreadsheet file that automatically updates the response timestamp:
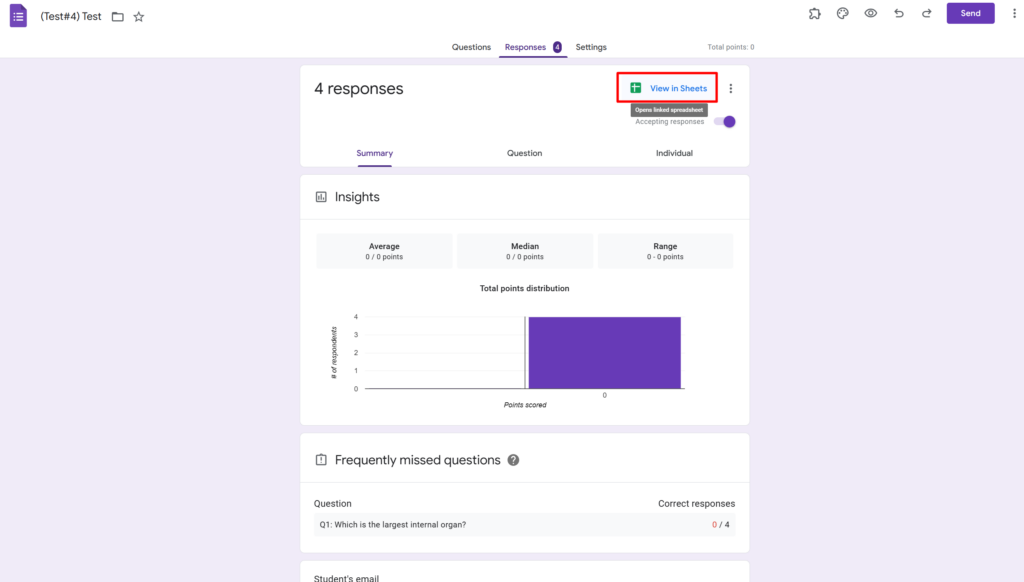
This spreadsheet is automatically created by Google, and it is linked to your form. The sheet “Form Responses 1” of the file contains the timestamp and submitted responses:
2. How Performflow Reports Data on the Spreadsheet
2.1. Data on “Form Responses 1” Sheet
With PerformFlow activated on your form, the add-on automatically adds three more columns named Request #, Unique Request #, and Final Status to the “Form Responses 1” sheet:
- Request # shows the numbering of the request.
- Unique Request # shows the unique numbering of the request.
- Final Status shows the latest request status, including In Progress, Approved, or Rejected.
*Note: Do not edit this sheet to prevent the add-on from malfunctioning.
2.2. Data on “Detailed Approval Report” Sheet
Aside from three new columns on the “Form Responses 1” sheet, the add-on also creates a new sheet called “Detailed Approval Report”:
This sheet automatically updates all the approval data in real time, including each recipient’s approval status, comment, and approval time.
The sheet is set protected by default. You, as the form owner, can remove its protection status. However, it is highly recommended not to alter or remove any cell/column on this sheet since those actions may cause the report to malfunction.
*Overall, you do not have to do anything regarding the report spreadsheet because everything is automated.
3. How to Share Report Spreadsheet to Other Recipients
Only you, as the form owner, can see & edit this report spreadsheet by default.
If other recipients wish to view the spreadsheet, they must ask for your permission.
You can also intentionally share this spreadsheet with other recipients by clicking on the “Share” button on the spreadsheet. And if you want to allow recipients to view only, set those recipients’ authorization to “Can view.”