- User Guide
Tips to Set Up Your First Workflow
Mode 1: Create Approval Workflow Only
1.1 Add Static & Dynamic Recipients
1.3 Set Conditions for Recipient
Mode 2 & 3: Generate & Send PDF/document only
2.1 How to generate PDF/document
2.2 Common file template errors
2.3 Send PDF/documents to recipients
2.4 Send PDF/documents to respondents
3.1 Combine Modes – Setup File Template
3.2 Combine Modes – Add recipients
Email Settings & Features:
4.1. Options for Sending Final Email
4.3. Show or Hide the Sheets Report in the Final Email
4.4. Show File Attachment Links on Emails
4.5. Resend Email to Recipient & Edit Recipient Email
4.8. Set Conditions for Custom Email Template
4.9. Add CC and BCC Email Addresses
Team Plan:
Additional Features:
6.1 Set Reminder & Auto Approve/Reject
6.2 Resend All Pending Requests
6.5 Approval Link Authentication
6.7 Transfer Paid Plan To Other User
6.8 Avoid Automatic Approval/Rejection
6.11. Cancel a Request via Email
6.13. Change Decision for Recipients
6.15. Approve via Dashboard for Recipients
6.16. Form Owner Approves on Behalf of Recipients
6.17. Bulk Actions: Approve, Reject, and Cancel
Learn how to customize and manage your email templates in PerformFlow. You can modify both the email subject and body to match your workflow and communication preferences.
1. Customize Your Email Templates
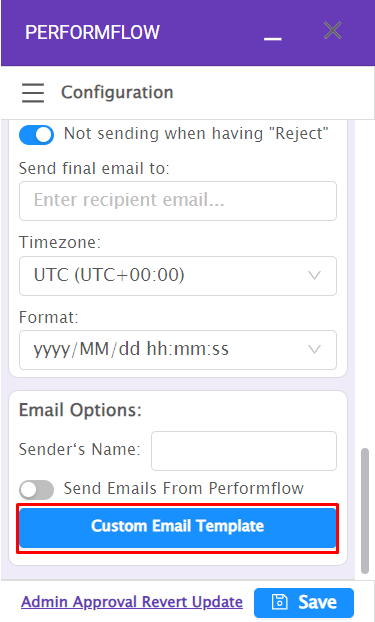
Step 1: Open the Custom Email Template
Go to the Add-on Configuration menu.
Scroll to the bottom and click Custom Email Template.
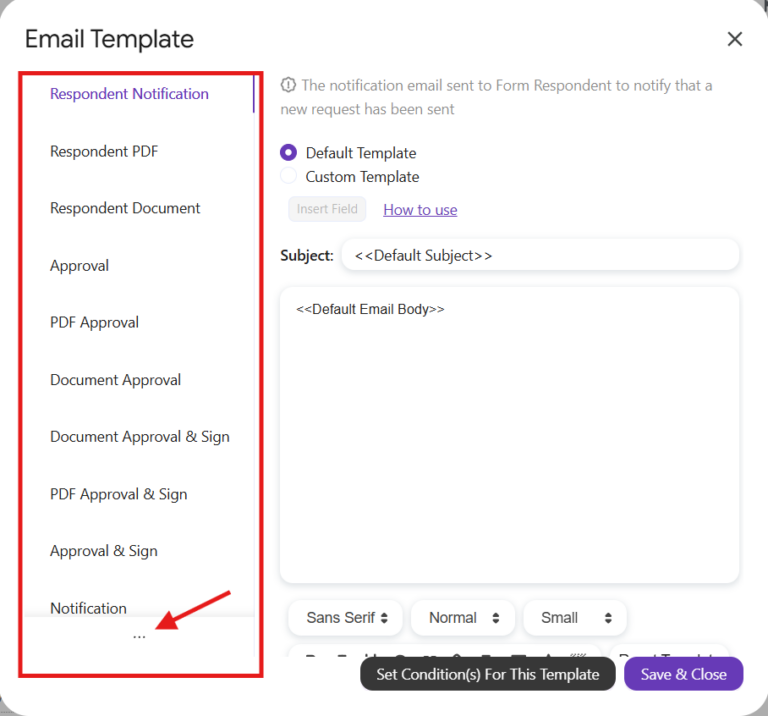
Step 2: An Edit Email Template Dialog opens and you can choose one of the options below.
- Use Default Template: the email notification, including its subject and body, will be automatically designed and sent by our system.
Step 2: Choose an Email Template Type
In the Edit Email Template dialog, choose one of the following options:
Use Default Template
The email subject and body will use the standard PerformFlow layout, automatically designed and sent by the system.Use Custom Template
Create your own subject and message body to reflect your brand or highlight important request details.
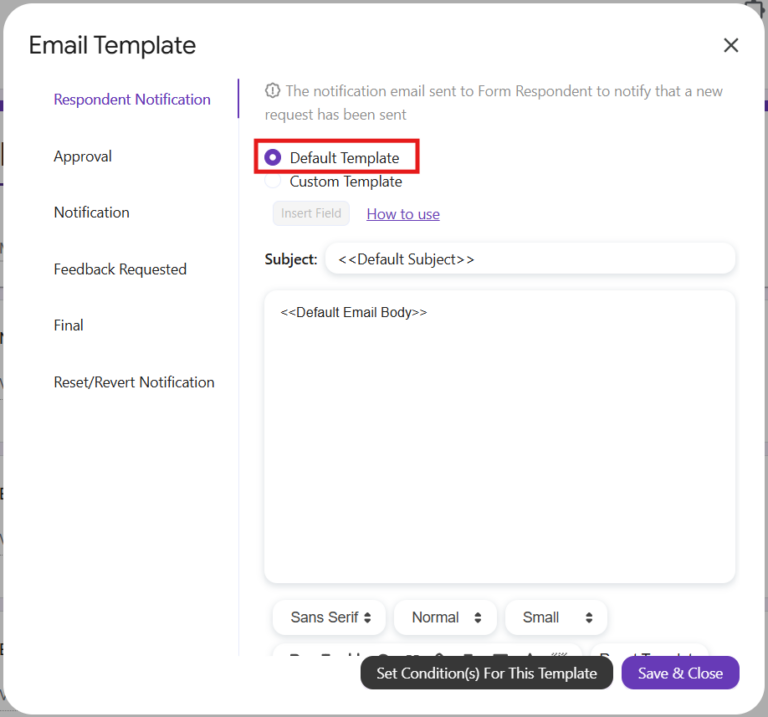

After selecting your option, click Save & Close.
Step 3: Save Your Configuration
When the dialog closes, click Save in the configuration menu to apply and update all changes.

Note:
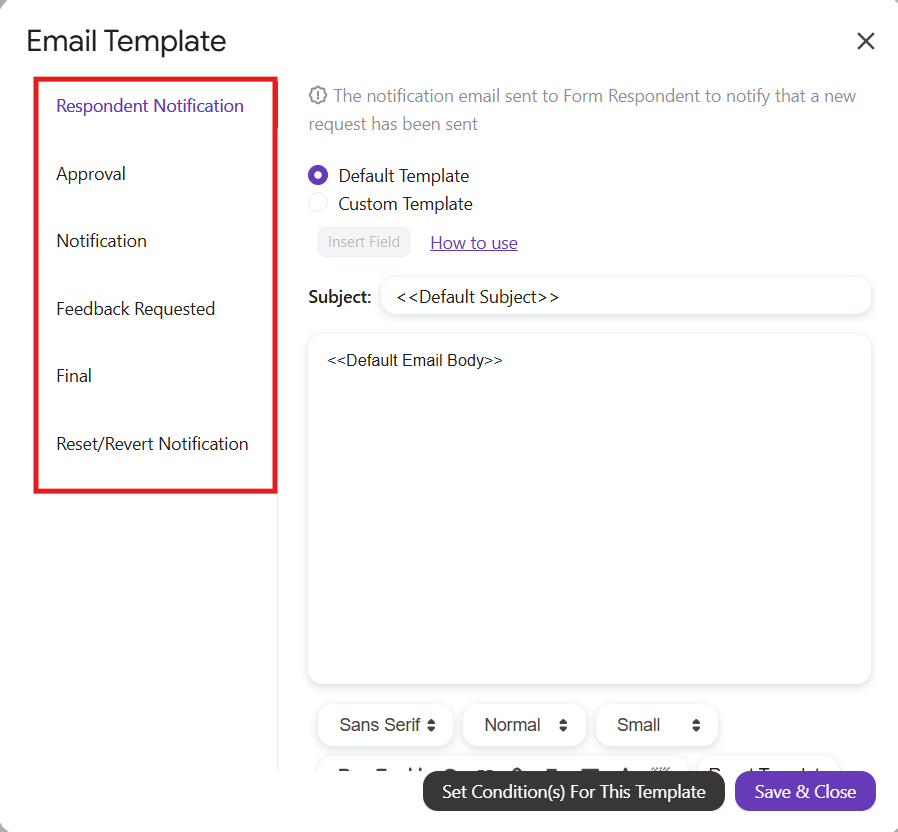
The number of templates you can edit depends on your current mode:
- Create Approval Workflow: 6 templates
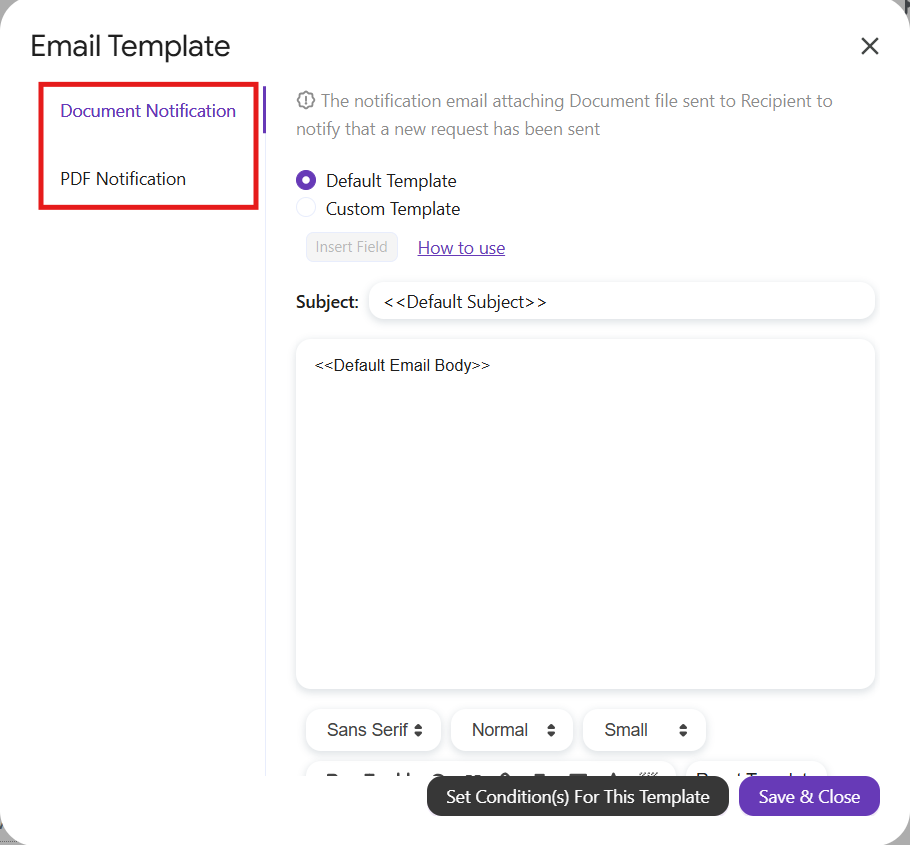
- Generate & Send Document/PDF: 2 templates
- Combine All Modes: 17 templates
2. Using Dynamic Fields
Dynamic fields allow PerformFlow to automatically insert specific data into your email, such as form details, recipient information, and approval actions.
Dynamic fields are enclosed in double angle brackets, for example: <<Request Number>>.
Common Dynamic Fields
| Field | Description |
|---|---|
<<Request Number>> | The unique request number |
<<Form Name>> | The title of the form |
<<Respondent Email>> | Email address of the respondent |
<<Form Response Table>> | Full table of questions and responses (email body only) |
<<Short Form Response Table>> | Table excluding empty answers |
<<Approval Actions>> | Approval buttons and actions (e.g., Approve/Reject) |
<<Approve/Reject & Comment>> | Button for approval, rejection, or adding comments |
<<One-click Approve>> | Single-click approval button |
<<One-click Reject>> | Single-click rejection button |
<<Document Button>> | Button to open the generated document (label varies by role) |
<<Approval Status>> | Table showing approval status (email body only) |
<<Edit Response URL>> | Link to edit the submission |
<<Response Sheet URL>> | Link to the Google Sheet of responses |
<<Request Date>> | Submission date and time |
<<Overall Status>> | The overall approval status of the request |
Tips:
Dynamic fields are not case-sensitive.
Example:<<Request Number>>and<<request number>>are the same.Always copy fields exactly as shown. Any typo, missing angle bracket, or extra symbol can break the email flow.
Example of incorrect formats:
<<form response table→ missing>><<form response table>>→ extra space
3. Dynamic Fields by Mode
| Mode | Supported Fields |
|---|---|
| Approval Workflow Only | <<Approval Status>>, <<Request Date>>, <<Form Response Table>>, <<Approval Actions>>, <<Form Name>>, <<Overall Status>>, <<Respondent Email>>, <<Edit Response URL>>, <<Response Sheet URL>> |
| Generate & Send Document | <<Request Number>>, <<Request Date>>, <<Form Response Table>>, <<Form Name>>, <<Respondent Email>>, <<Edit Response URL>>, <<Document Button>> (for users with “Can view document” permission) |
| Combine All Modes | <<Request Number>>, <<Request Date>>, <<Form Response Table>>, <<Approval Status>>, <<Approval Actions>>, <<Form Name>>, <<Overall Status>>, <<Respondent Email>>, <<Edit Response URL>>, <<Response Sheet URL>>, <<Document Button>> (for users with “Can view document” permission) |
4. Plan Availability
The Custom Email Template feature is available for Individual Plan and Team Plan users.
If your subscription expires and reverts to the Free Plan, your custom templates will be retained for 30 days. After that period, all templates will be deleted, and the system will revert to default templates. You’ll need to recreate your custom templates from scratch.