- User Guide
Tips to Set Up Your First Workflow
Mode 1: Create Approval Workflow Only
1.1 Add Static & Dynamic Recipients
1.3 Set Conditions for Recipient
Mode 2 & 3: Generate & Send PDF/document only
2.1 How to generate PDF/document
2.2 Common file template errors
2.3 Send PDF/documents to recipients
2.4 Send PDF/documents to respondents
3.1 Combine Modes – Setup File Template
3.2 Combine Modes – Add recipients
Email Settings & Features:
4.1. Options for Sending Final Email
4.3. Show or Hide the Sheets Report in the Final Email
4.4. Show File Attachment Links on Emails
4.5. Resend Email to Recipient & Edit Recipient Email
4.8. Set Conditions for Custom Email Template
4.9. Add CC and BCC Email Addresses
Team Plan:
Additional Features:
6.1 Set Reminder & Auto Approve/Reject
6.2 Resend All Pending Requests
6.5 Approval Link Authentication
6.7 Transfer Paid Plan To Other User
6.8 Avoid Automatic Approval/Rejection
6.11. Cancel a Request via Email
6.13. Change Decision for Recipients
6.15. Approve via Dashboard for Recipients
6.16. Form Owner Approves on Behalf of Recipients
6.17. Bulk Actions: Approve, Reject, and Cancel
Understand how to send generated PDF & Google Docs files to your respondents.
In Generate & send document/PDF or Combine all modes, go to the Recipients tab, then Form Respondent section. Click on the Create Form Respondent button:
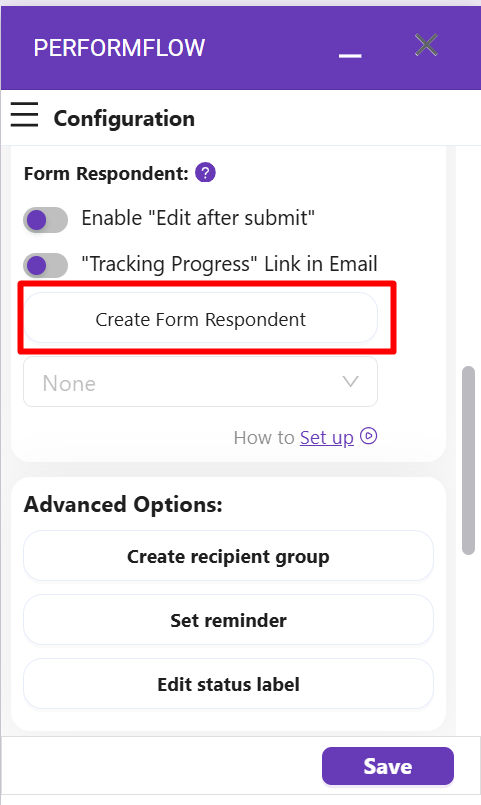
It will automatically create a new question called Respondent’s Email Address and a new dynamic field under the Form Respondent section.
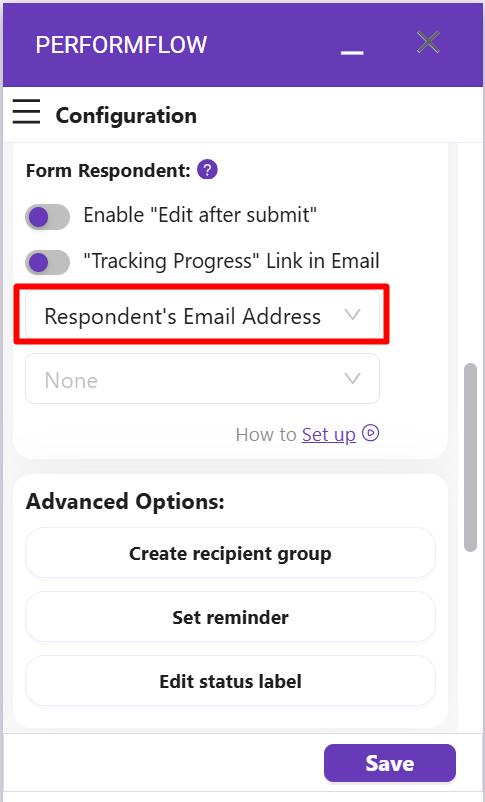
Next, select Respondent’s Email Address for this dynamic field:
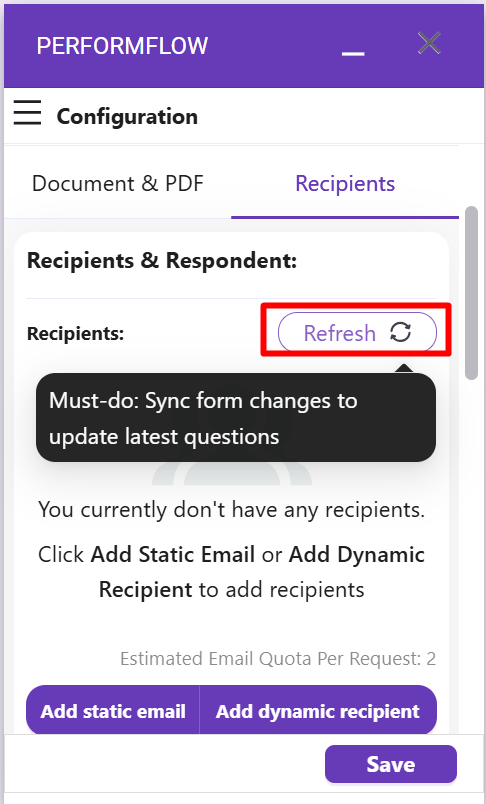
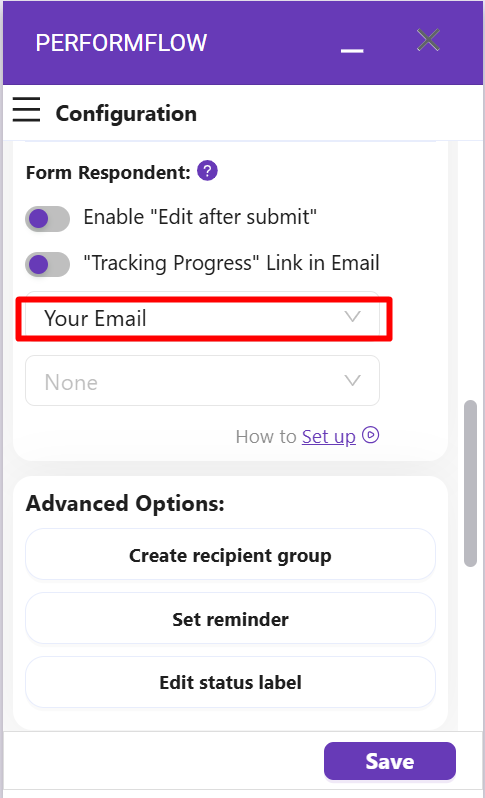
You can also edit this auto-created question to something else (e.g., “Your Email”), but remember to click Refresh so that the add-on will update the question:
After that, select the question again for the respondent’s dynamic field:
Then, select a generation role for the respondent in the drop-down list below the field:
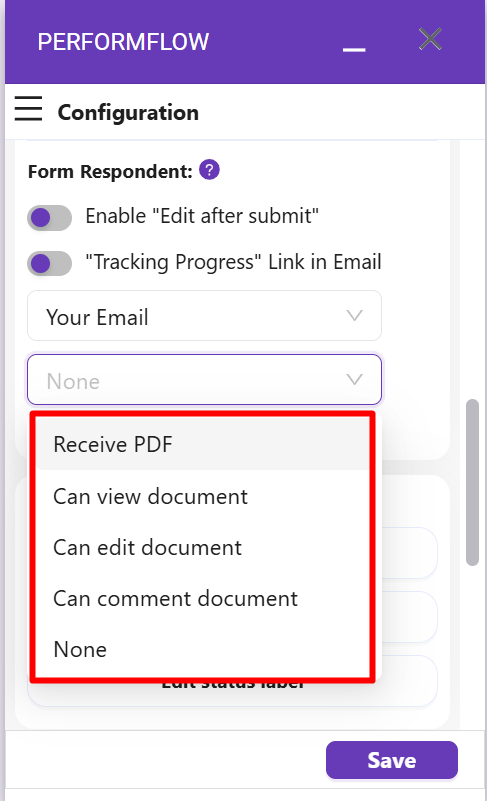
There are five generation roles available:
- Receive PDF: The respondent will receive only the generated PDF.
- Can view document: The respondent will receive only the generated Google Docs file.
- Can edit document: This respondent will receive the generated Google Docs file and be able to edit it.
- Can comment document: This respondent will receive the generated Google Docs file and be able to comment on it.
- None: The respondent will not receive the generated file.
Finally, click Save, and your respondents will receive a generated file when they submit responses to your Google Forms.