- User Guide
Tips to Set Up Your First Workflow
Mode 1: Create Approval Workflow Only
1.1 Add Static & Dynamic Recipients
1.3 Set Conditions for Recipient
Mode 2 & 3: Generate & Send PDF/document only
2.1 How to generate PDF/document
2.2 Common file template errors
2.3 Send PDF/documents to recipients
2.4 Send PDF/documents to respondents
3.1 Combine Modes – Setup File Template
3.2 Combine Modes – Add recipients
Email Settings & Features:
4.1. Options for Sending Final Email
4.3. Show or Hide the Sheets Report in the Final Email
4.4. Show File Attachment Links on Emails
4.5. Resend Email to Recipient & Edit Recipient Email
4.8. Set Conditions for Custom Email Template
4.9. Add CC and BCC Email Addresses
Team Plan:
Additional Features:
6.1 Set Reminder & Auto Approve/Reject
6.2 Resend All Pending Requests
6.5 Approval Link Authentication
6.7 Transfer Paid Plan To Other User
6.8 Avoid Automatic Approval/Rejection
6.11. Cancel a Request via Email
6.13. Change Decision for Recipients
6.15. Approve via Dashboard for Recipients
6.16. Form Owner Approves on Behalf of Recipients
6.17. Bulk Actions: Approve, Reject, and Cancel
You can customize your email templates to send different messages based on specific conditions. Follow the steps below to set up conditional logic for your custom email templates.
Step 1: Open the Custom Email Template
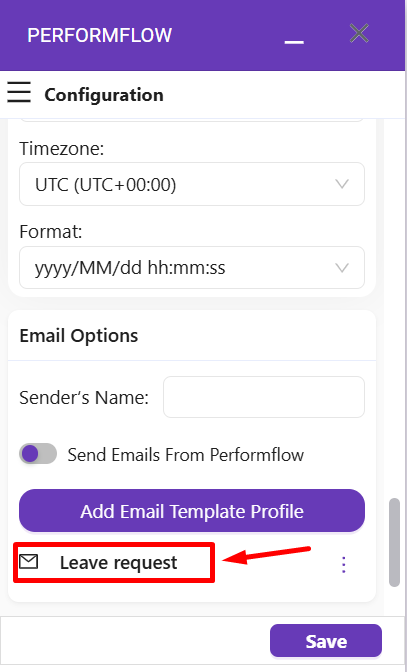
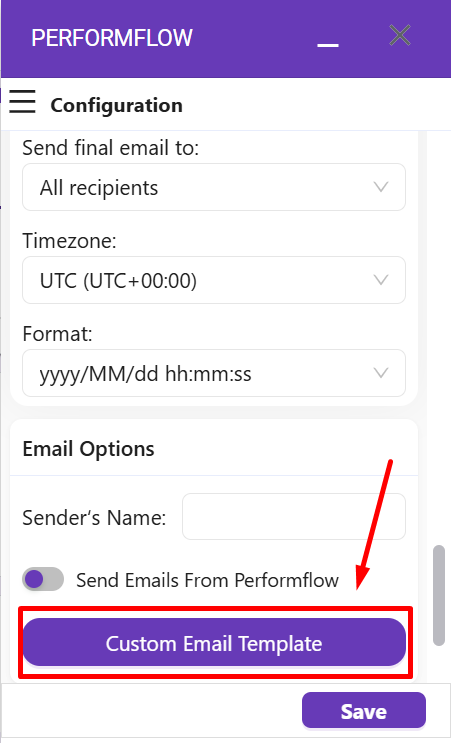
1. Go to your Add-on Configuration menu.
2. Scroll down and click Custom Email Template to open the template editor.
Step 2: Edit Your Template
Create or modify your email content as needed.
You can include dynamic fields, add formatting, or use your own custom text.

Step 3: Open the Condition Settings
After editing your template, click Set Condition(s) For This Template.
This will open the Conditions setup page.
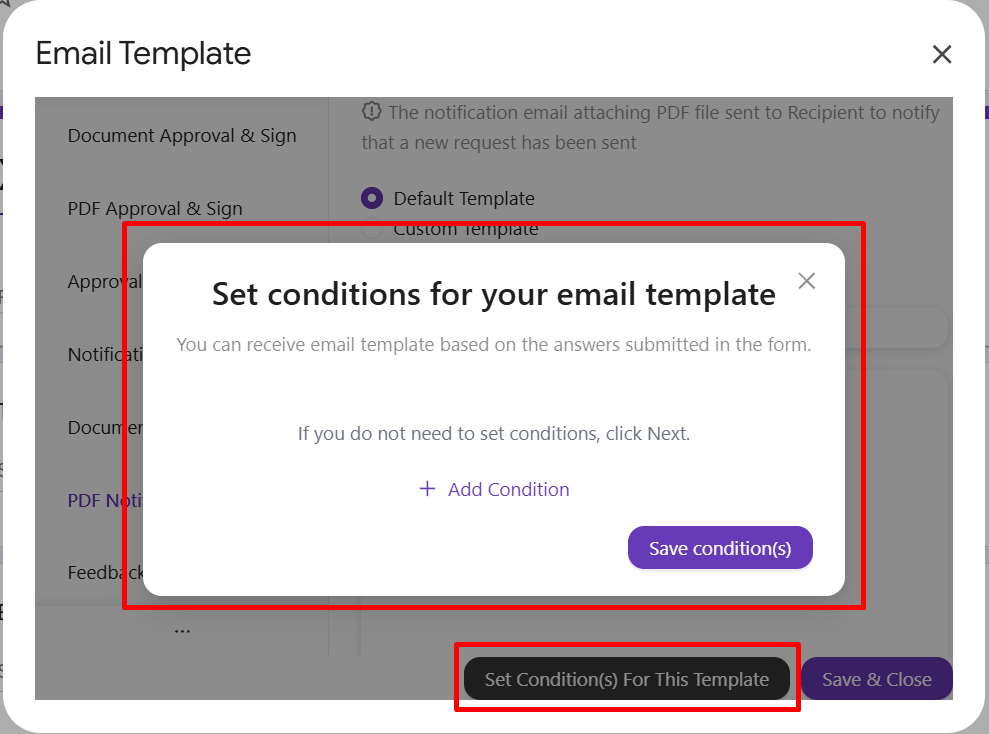
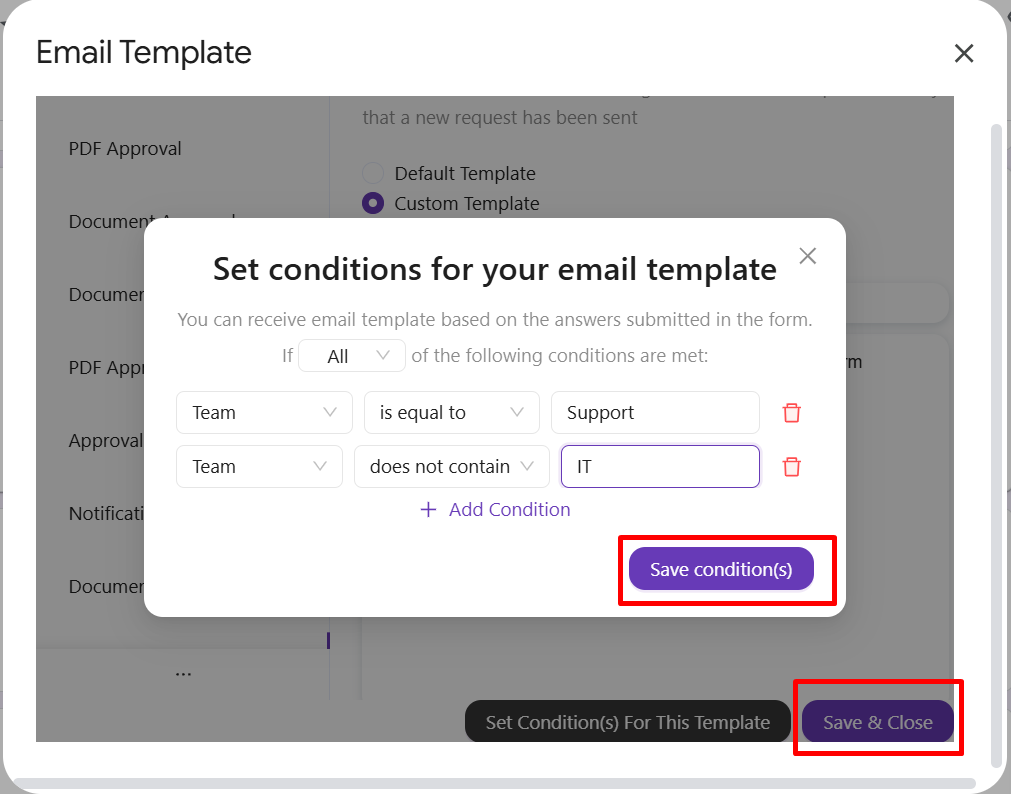
Step 4: Set Up Conditions
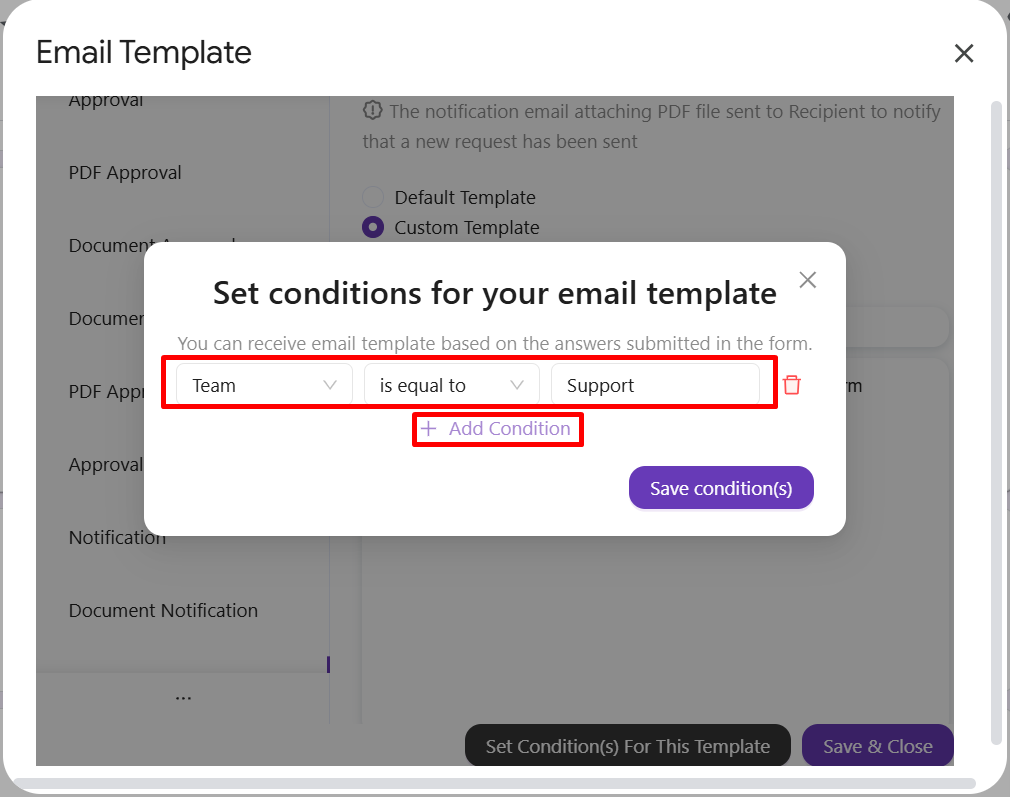
Click Add Condition to define what triggers this specific email template.
You’ll need to set three parts for each condition:
Select a Question – Choose the form question that determines when the condition applies.
Choose an Operator – Select how the value will be compared (for example, equals, greater than, or less than).
Enter a Value – Specify the value that should trigger the condition.
Note: If no conditions are met, the default email template will be used automatically.
Step 5: Save and Finalize
1. Click Save Condition(s) to store your setup.
2. Click Save & Close.
3. Enter a profile name for your template, then click Submit to finish.
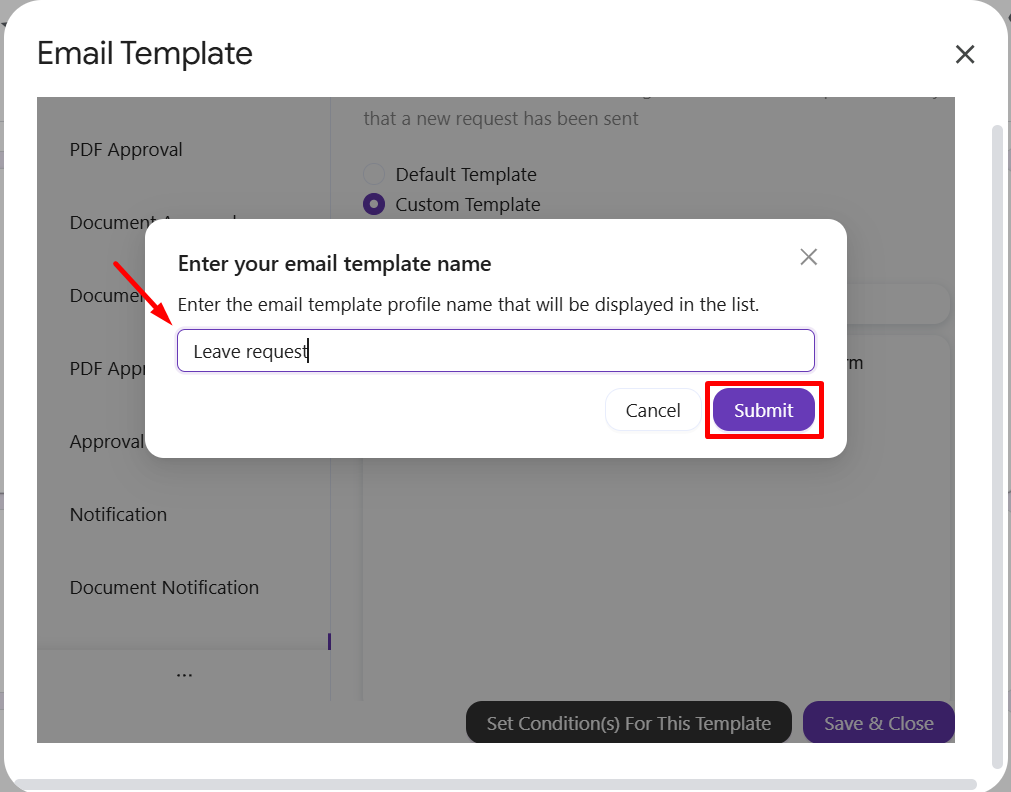
Your custom email template profile is now saved and can be managed at any time from the Email Options section.