- User Guide
Tips to Set Up Your First Workflow
Mode 1: Create Approval Workflow Only
1.1 Add Static & Dynamic Recipients
1.3 Set Conditions for Recipient
Mode 2 & 3: Generate & Send PDF/document only
2.1 How to generate PDF/document
2.2 Common file template errors
2.3 Send PDF/documents to recipients
2.4 Send PDF/documents to respondents
3.1 Combine Modes – Setup File Template
3.2 Combine Modes – Add recipients
Email Settings & Features:
4.1. Options for Sending Final Email
4.3. Show or Hide the Sheets Report in the Final Email
4.4. Show File Attachment Links on Emails
4.5. Resend Email to Recipient & Edit Recipient Email
4.8. Set Conditions for Custom Email Template
4.9. Add CC and BCC Email Addresses
Team Plan:
Additional Features:
6.1 Set Reminder & Auto Approve/Reject
6.2 Resend All Pending Requests
6.5 Approval Link Authentication
6.7 Transfer Paid Plan To Other User
6.8 Avoid Automatic Approval/Rejection
6.11. Cancel a Request via Email
6.13. Change Decision for Recipients
6.15. Approve via Dashboard for Recipients
6.16. Form Owner Approves on Behalf of Recipients
6.17. Bulk Actions: Approve, Reject, and Cancel
Learn how to set conditions for each recipient in an approval workflow.
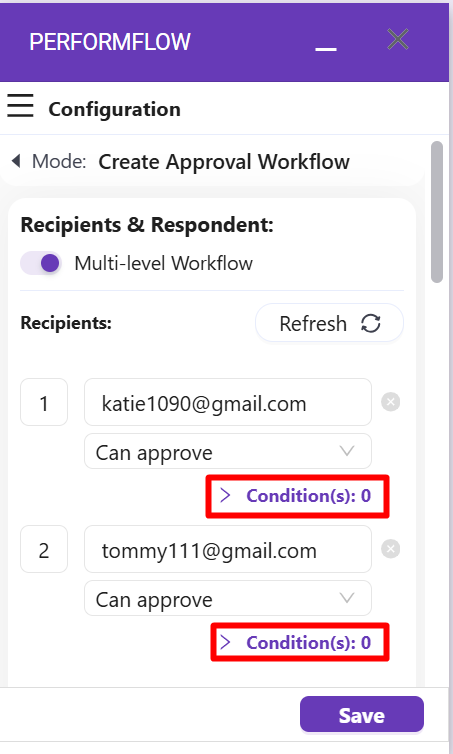
Step 2: Click on Conditions will open a Condition menu where you can start editing conditions for that particular recipient
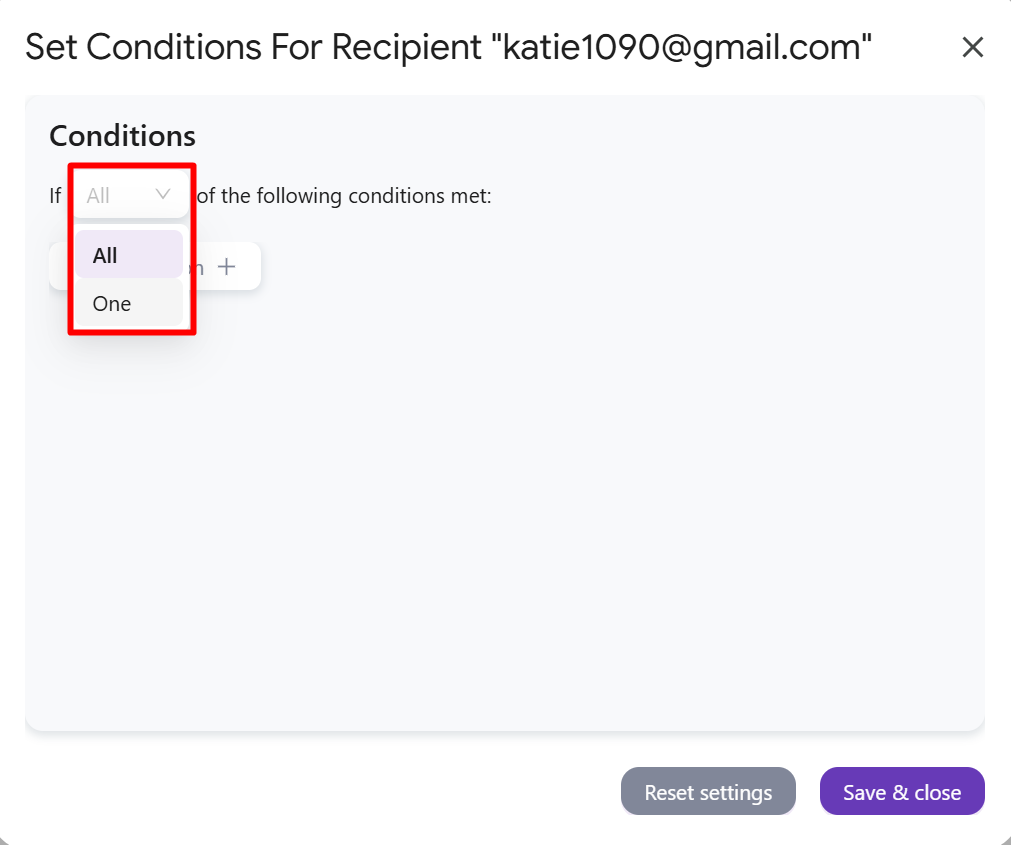
Step 3: Select either “If All or One of the following condition met”
- When you choose “All”, it means ALL the conditions below must be met in order for this recipient to receive approval email.
- When you choose “One”, it means only ONE among the conditions below must be met in order for the recipient to receive approval email.
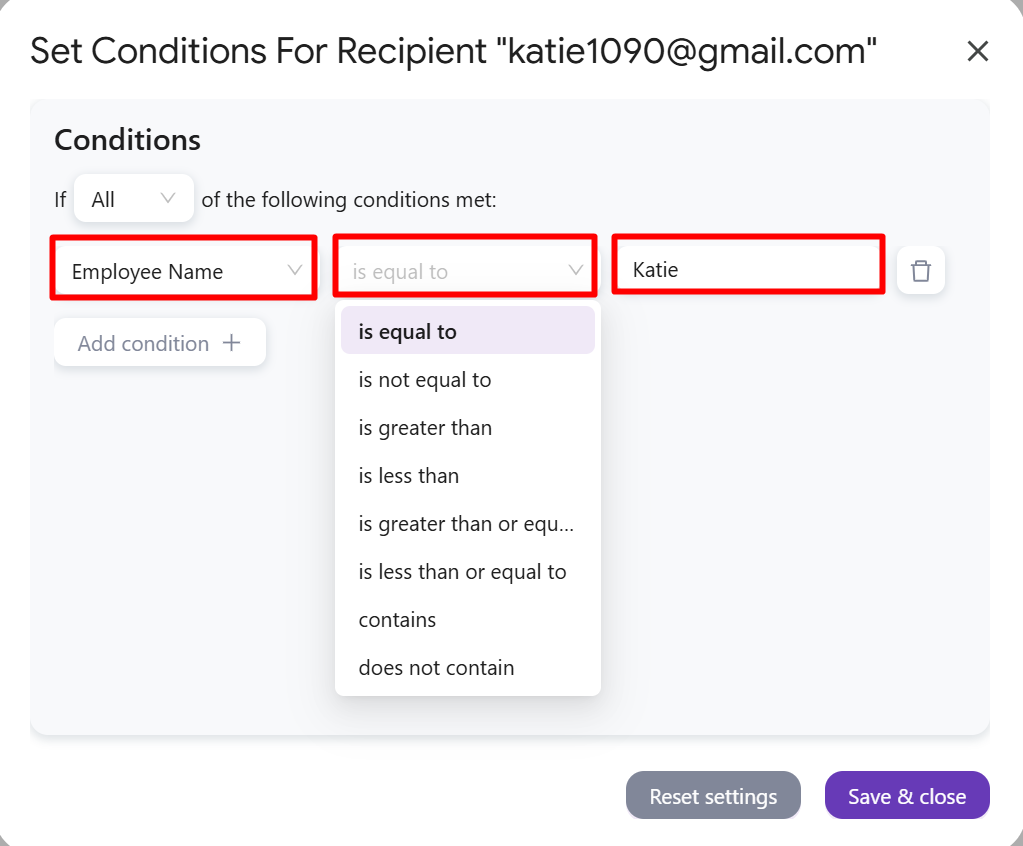
Step 4: Click Add condition to create a new condition line.

Step 5: There 3 columns you can use to configure a condition line
- The 1st column is to select a question from your Form:
- The 2nd column is to select a function, including 6 “equal to” types and 2 “contains” types
- The 3rd column is to enter a condition value
Step 6: When you finish adding conditions, simply click Save & close on this Condition menu, then click Save on the Configuration menu.
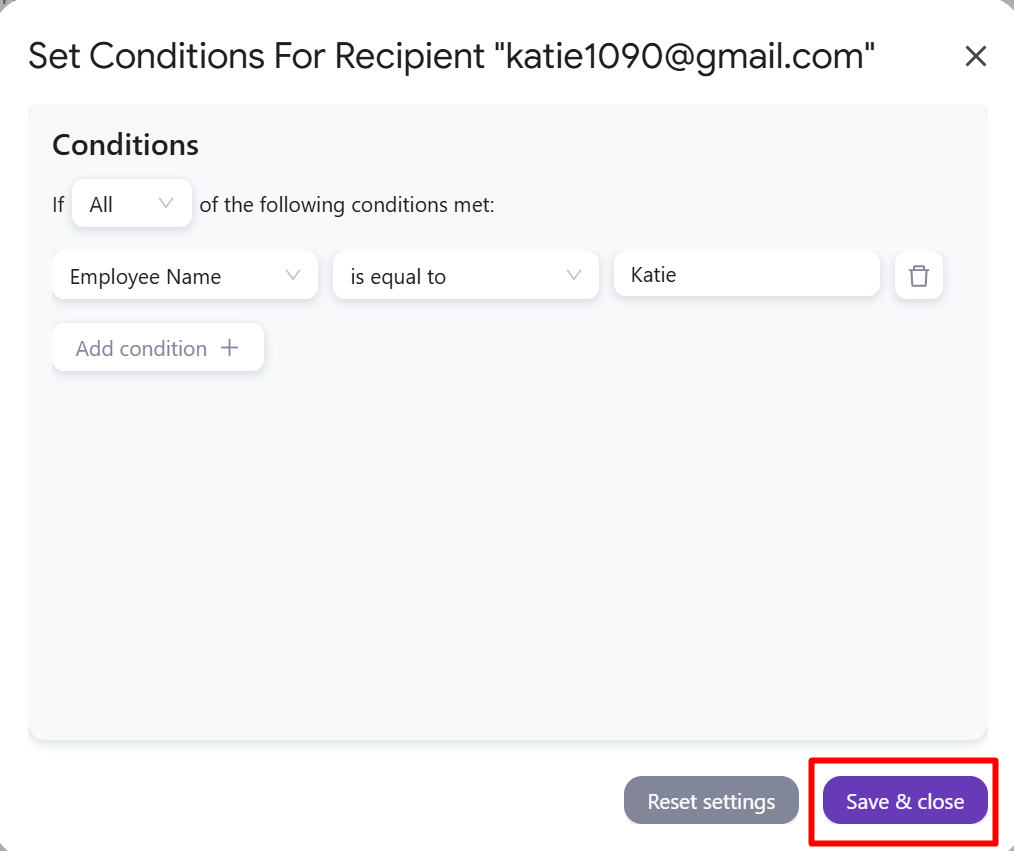
With that, your recipient will now only receive approval email IF the specified condition(s) is met.