This feature is designed to save you time by eliminating the need to manually reconfigure your settings when creating new forms or moving workflows between accounts.
Follow the step-by-step instructions below to get started.
How to Export a Workflow
If you want to save your current configuration to use it elsewhere, you can easily export it:
Step 1: Go to Settings
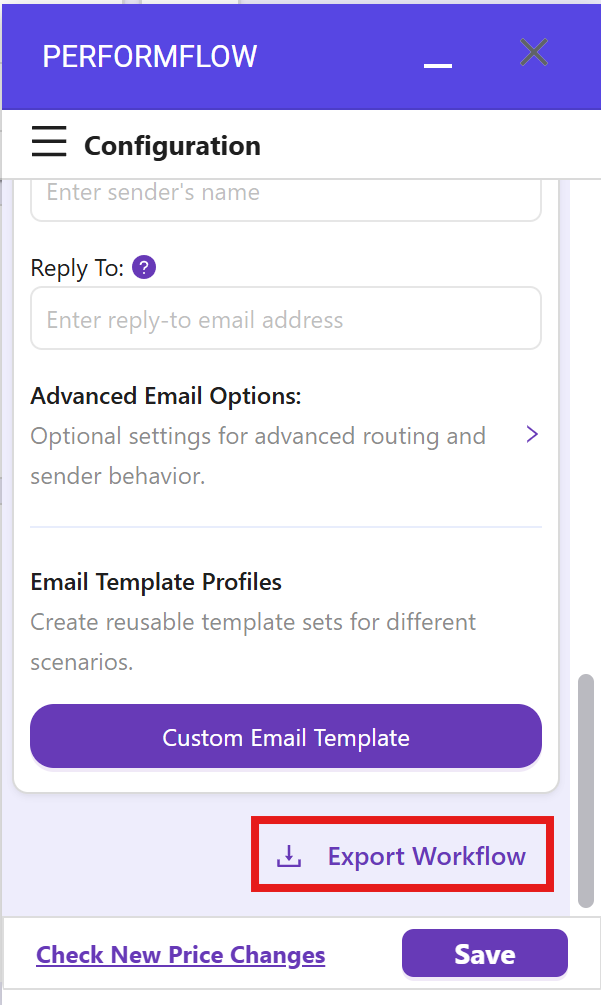
Open your add-on configuration and scroll to the bottom of the settings panel.
Step 2: Export the File
At the very end of the settings, you will find the Export Workflow function. Simply click the Export Workflow button, and the add-on will automatically download the workflow settings file directly to your device.
How to Import a Workflow
If you have an existing workflow configuration file and want to apply it to a new form, follow these steps:
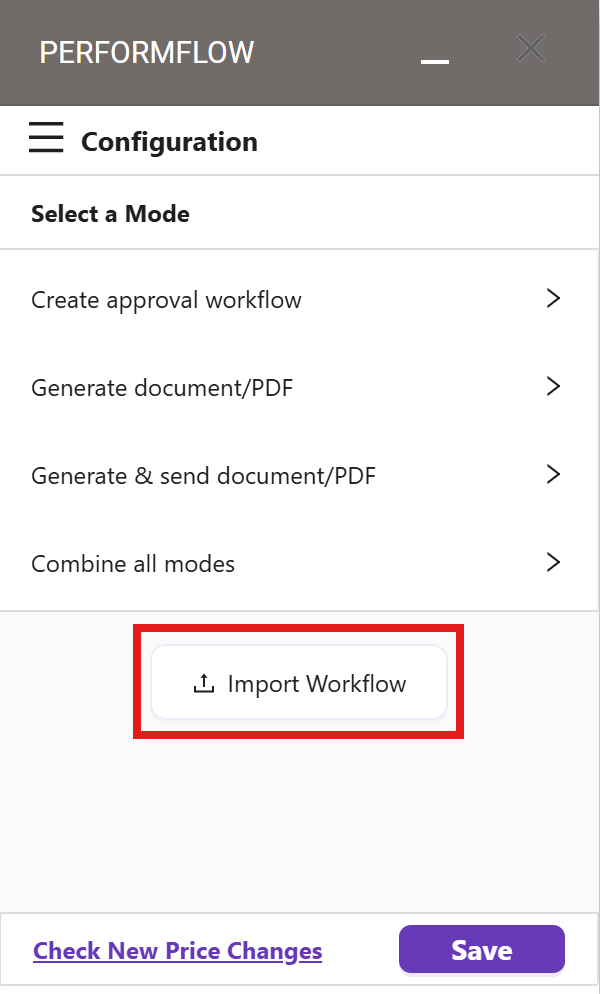
Step 1: Click the Import Button
On the initial Select a Mode screen, you will see the Import Workflow button (as circled in the image below). Simply click on it to proceed.
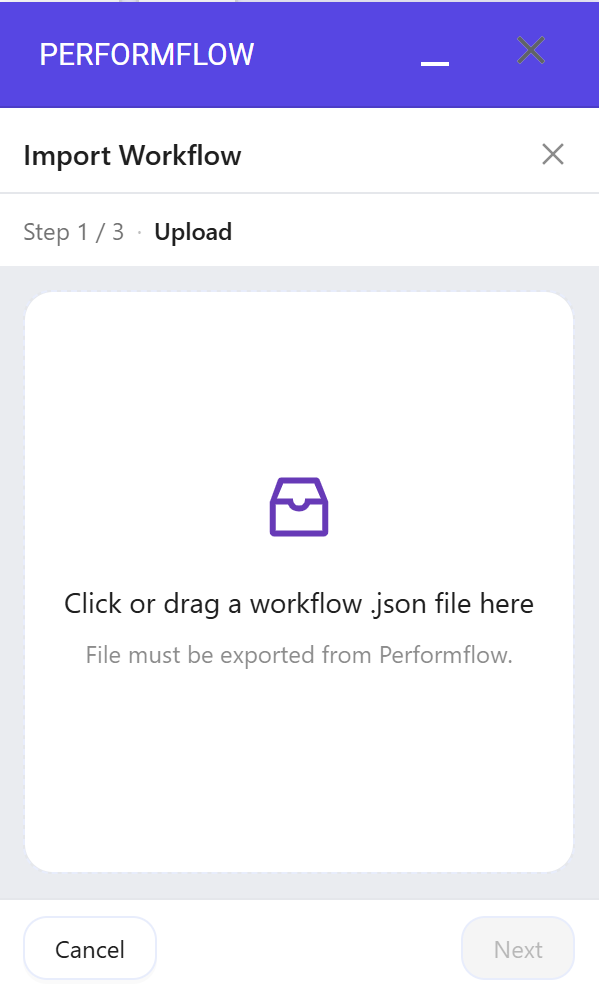
Step 2: Upload Your Configuration File
You will then be navigated to the next screen, which prompts you to upload your workflow file. Select the configuration file you previously exported from another workflow setup.
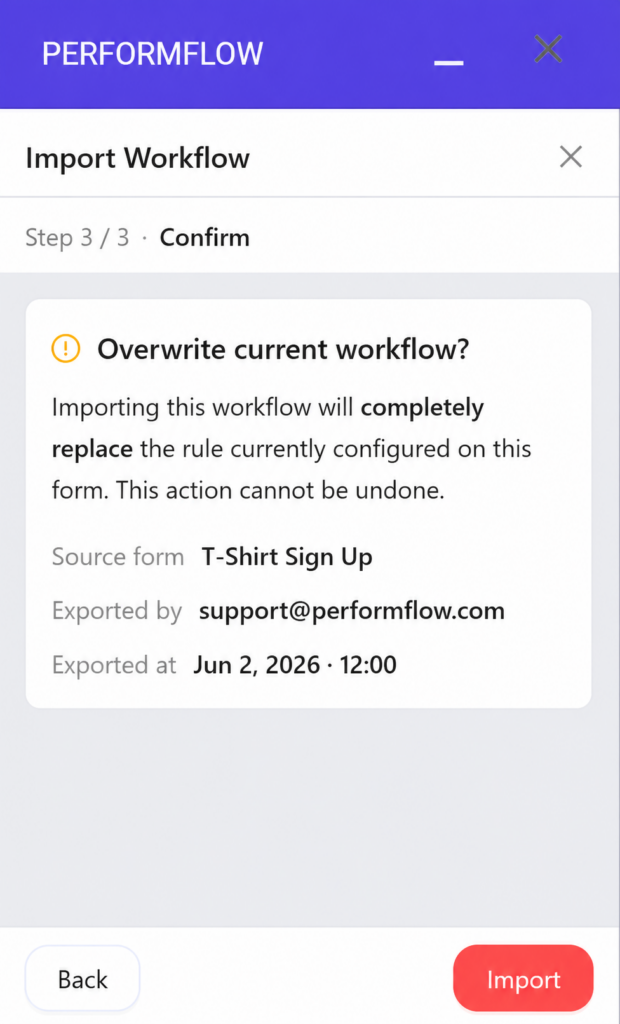
Step 3: Confirm and Finalize
After choosing the file, a confirmation screen will appear. Simply click the Import button to finalize the process and load your settings.
If you have any questions or need assistance with exporting or importing your workflows, please feel free to reach out to our support team!